Sunday, 21 April 2013

Pink gradient peek

This is a more successful version of the rainbow stripes.

-paint ur nails white
-Sponge dab 3 shades of pink ( refer to sponge dabbed ombré below)
-repeat

And there, I had my nails pink n pretty for a good week. That's when some polish starts to chip, and nails start to grow. Don't worry time to re-use and transform the design!

-paste thin strips of tape
-choose vertical area to reveal more gradient effect
-make sure a portion of the tape is sticking out so u can remove them easily later
-when making overlap design, take note of the tape on top! So u can remove the top one first. Otherwise a chunk may be removed
-polish black over all nails
-wait
-Matt top coat
-wait
-peel off the stickers and walla! :)

Ps: I didn't take my nails when it was ugly n chipping. I should have cause the transformation is huge :s


Thursday, 18 April 2013

Nails Accessories Review- Part 2

Continued from part 1
 
1) Salon Express
 
What's Good?
A cheaper version of nail art stamping tools, lot of design in a set. But thats it.. :(

What's Not?
The metal plate designs are very thin and the rubber doesnt pick up the colours well. It takes a few tries to complete a picture -_- Bearing in mind that most of us would want to stamp over a base colour, and then u restart. Basically.. dont get it! unless u have some special polish that works miracle over this


2) Seche Vite Quick Dry
 
What's Good?
Quick dry! need i say more? Less than 20s for the top surface layer to dry, slightly longer for the middle section depending on the thickness of your coat. The brush is pretty soft to brush over ur designs without destroying it :)
 
What's Not?
Maybe the drip dry would work better if u want to Immediately apply top coat.

3) Empty Pill box

What's Good?
Cheap and readily available in stores. Instead of having a bunch of plastic bags, all can be fitted in and conveniently used.
 
What's Not?
Mine is a quite tight, difficult to open. But that's hardly a problem if u get a right one.


4) Pencil/Stationary holder

What's Good?
From Daiso! Place all the lengthy accessories, pens/brushes/Dotting tool/buffer etc. Beautiful and fluffy :)
 
4) OPI Euro Minis

What's Good?
Nice packaging with vibrant and lovely colours! Good to invest in mini-s since I personally never finished using up a normal sized OPI. Oh, and i have never finished a mini sized one either -_-

What's not?
Gold colour not solid enough but should be no problem when used over a coloured base :)


Wednesday, 27 March 2013

Sponge dabbed Ombre

I found out that when doing gradient nails, it really helps to paint the base white, an extra effort but really paints the pictures loud :)


Wednesday, 6 March 2013

Nails Accessories Review- Part 1

It's always exciting to try out new products that may bring about magical effects or multiple convenience to your DIY sessions. Here are some to consider, and some to consider not?
 
1) OPI Correct and clean up
Its a simple invention, a pen-like eraser for small errors on your cuticles/sides. I deliberately over-painted on my little toe and used the pen.
 
What's Good?
It's filled with polish remover and a flattened tip that lets you clean up the flawed edges. Much friendlier than using a traditional Q tip that has round tip. The flat shape allows u to reach the inner sides easily :)
 
What's Not?
The tip is kind of hard, so the removal isnt very smooth. Probably because my errors were quite thick, so it erased along with a little polish on the body. Need to wipe away the stains on tissue too, an additional step.


2) Nail-dry Protector
Comes in a set of 10. Allows you to clip on your fingers so that they dont accidentally knock onto each other.

What's Good?
Really easy to use, clip it on and it serves its purpose while you maybe read a book or drink some tea.
Especially useful when you have nail art on or thick layers of polish

What's Not?
Tedious to put on 10 of them. Yes i admit i'm lazy.. Also, if u do bend your fingers, the tip can come into contact with all sorts of danger. So its only defence is against the neighbouring finger!

3) Nail Art Do it yourself!
A set of 2 colours with 3 uses
 
What's Good?
A brush, a thin tip and beads. All in a pen! Oh i love the packaging as well :)
 
What's Not?
 Well the colour combi is really neon, and I find it hard to match any design. but that's a biased compain.. Oh and it doesnt stand firm like a bottle so when u are using the brush end, u better ensure the polish dont spill!


Tuesday, 26 February 2013

Pinked Lace

For a start, apply base coat, do a half French with pink. Wait for it to dry n draw a 'V' stemming from the centre base. Fill in the sides with white.

Next, draw 3 dots on each 'v'. Connect them alternately like a shoelace. That's it!

May consider adding a ribbon or glitter too:)


Monday, 4 February 2013

Feathers and clouds

You need thin stripper polish for this. I used a sky blue as the background.

Feathers:
-Draw a black diagonal stroke
-remove excess polish from stripper and lightly fill the body of the feather on both sides
-use a white strip polish and fill in shorter lines over the black. This creates a fluffier feel
- use the black again. And repeat with white. Take this chance to clear any lines that were too thick (with the alternate colour)
-highlight the first stroke with black again to make it neater
-add glitter and top coat

Clouds:
Use a large dotting tool and place about 4-5 dots to form the cloud outline
-fill in with white.

Add birds to the clouds if u like :)


Saturday, 29 December 2012

Melting candy

Choose your favorite colours!

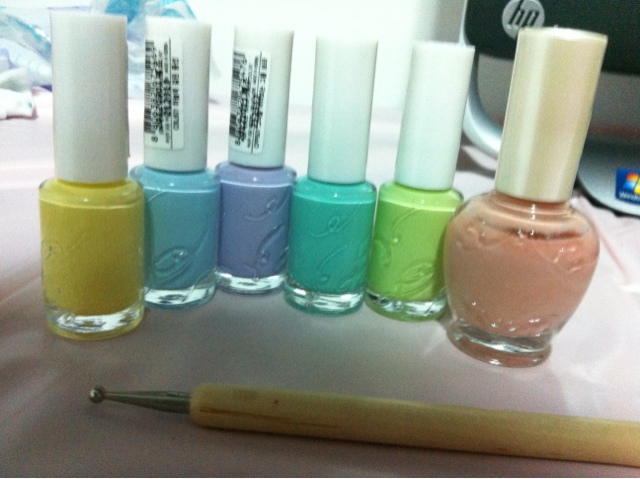
I chose 5 candy colours n base was nudish

1) use a dotting tool and dot the end of the drip.
2) tap a trail of thinner line upwards to the tip of ur nails
3) repeat for about 3-4 times each nail
4) connect the tip of ur nails
5) touch up by placing big neat dots at the end of the drips

Not difficult to do with ur left hand either!